Learn how to make this easy sourdough recipe using just 4 ingredients.
I used to think making sourdough bread was a ton of work. I’ve seen others do the recipes with a million steps. . . they’re great, but if you have a busy lifestyle or are on a farm like me, you don’t really want to revolve around making bread. You know what I mean?
This easy sourdough recipe has completely changed how I used to view bread-making.
I was a complete beginner when it came to sourdough, and almost didn’t bother starting because most recipes looked overwhelming. I thought making my own starter was going to be a big deal (learn how to make one HERE!) I’m here to tell you that it’s NOT rocket science, and you’ll be surprised at how simple this will become after a couple of times. After cutting out some unnecessary steps, you can still have that amazing-tasting sourdough loaf. I promise we aren’t really cutting corners. . . it’ll taste like the real thing, okay?
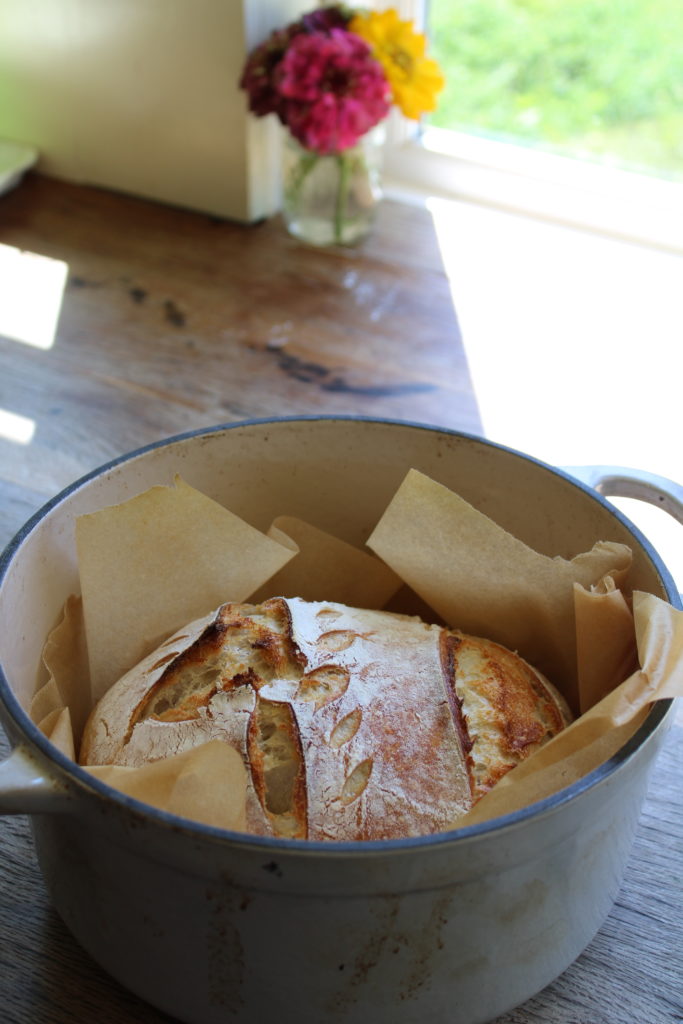
What is Sourdough?
Sourdough is a naturally leavened bread, which is achieved through a longer fermentation process. So basically you won’t be using any commercial yeast to leaven the dough. You will use a sourdough starter, which is a culture containing a blend of wild yeasts and suitable lactic acid bacteria. Learn how to make your own sourdough starter here!
Health benefits of Sourdough;
Because Sourdough is fermented using a lactobacillus culture, it has probiotics in it that you wouldn’t find in bread using commercial yeast. Hence it becomes more digestible and provides benefits to the healthy gut. People with slight gluten sensitivities have found it more tolerable.
Ingredients you will need to make this sourdough recipe;
- All Purpose Flour
- Warm Water
- Sourdough Starter
- Salt
Equipment/utensils you may need;
- A Bowl
- Kitchen Scale
- Dutch Oven or a Cast Iron Pot
- Whisk & a Wooden Spoon
- Plastic Wrap
- Parchment Paper
How to Make the Easiest Sourdough Recipe, Step-by-Step
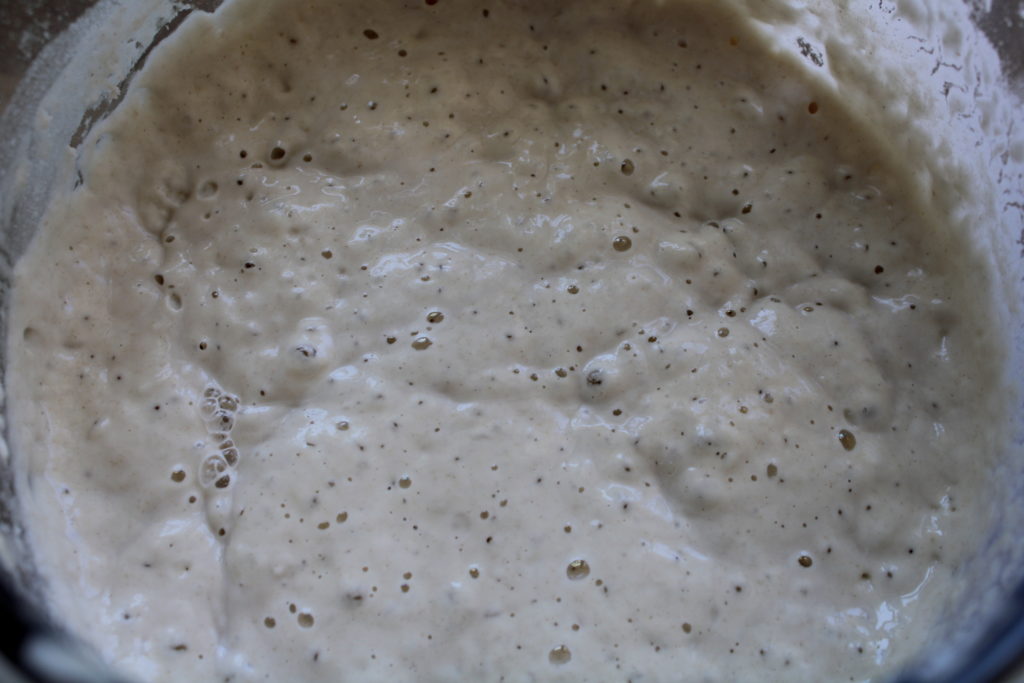
Feed your sourdough starter 4-12 hours before making bread. Be sure it’s all active and bubbly and passes the float test before using it! I have explained how to do a float test down toward the bottom of this page.
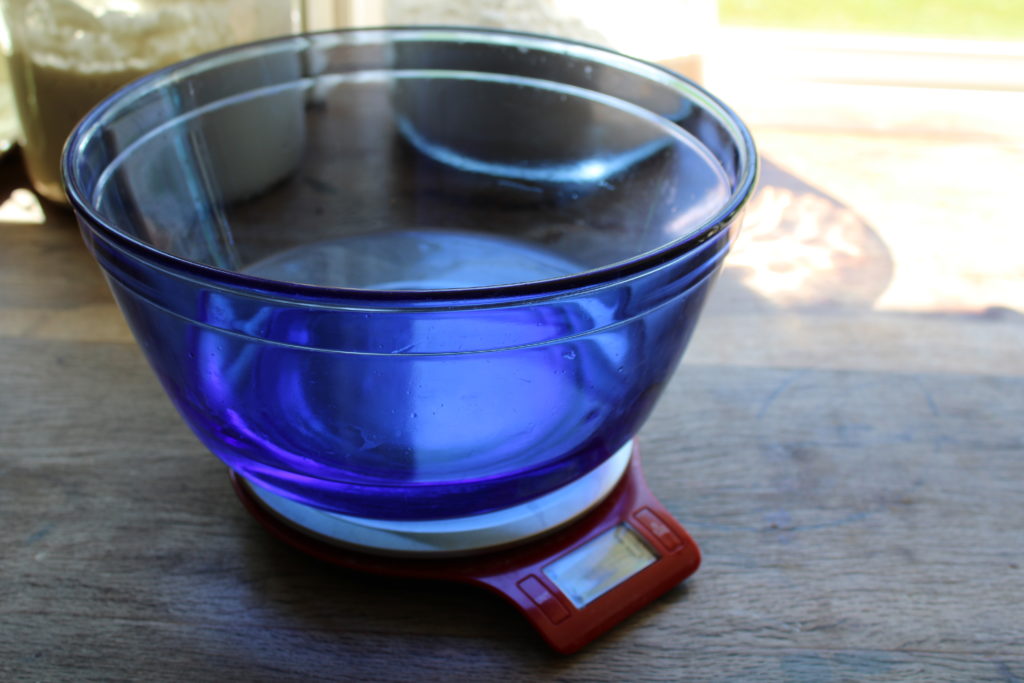
I’ve had the best results with this recipe when using a small kitchen scale, like this one. I set my bowl on the scale and tare it to zero. After I add an ingredient, I just tare the scale back to zero before adding in the next one. It saves you from using other bowls, etc.
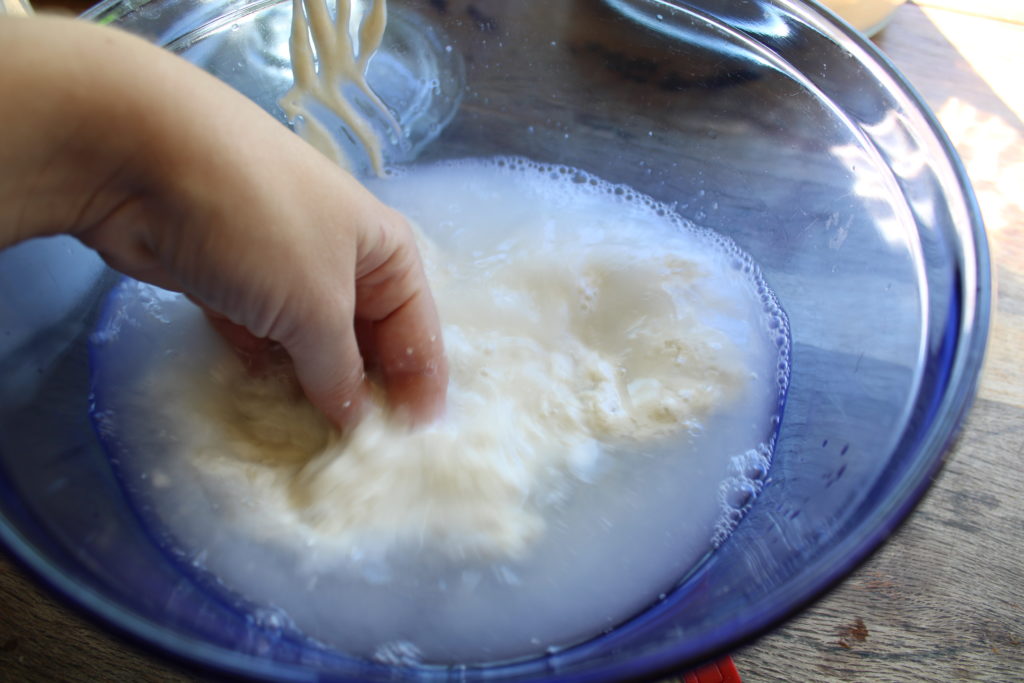
Add the warm water and starter to the bowl and mix with your hand (or whisk) to dissolve the starter.
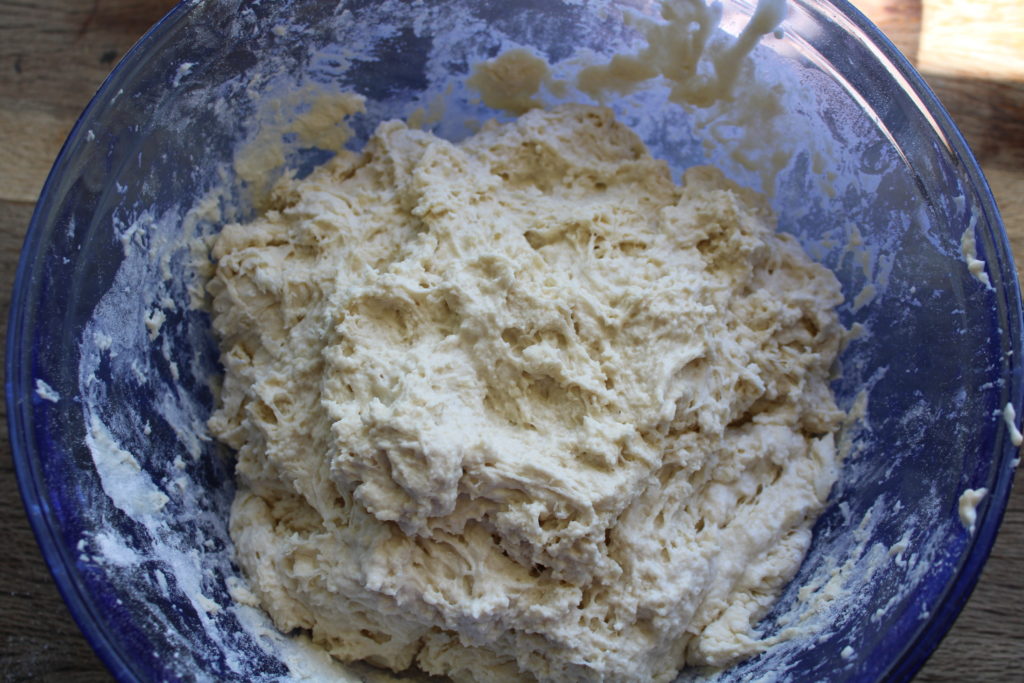
Add in salt and flour and use your hands to mix everything together. You aren’t kneading, just making sure everything is incorporated well. You will get a shaggy, sticky dough. Cover and let it sit for 30 minutes.
Stretch and Fold
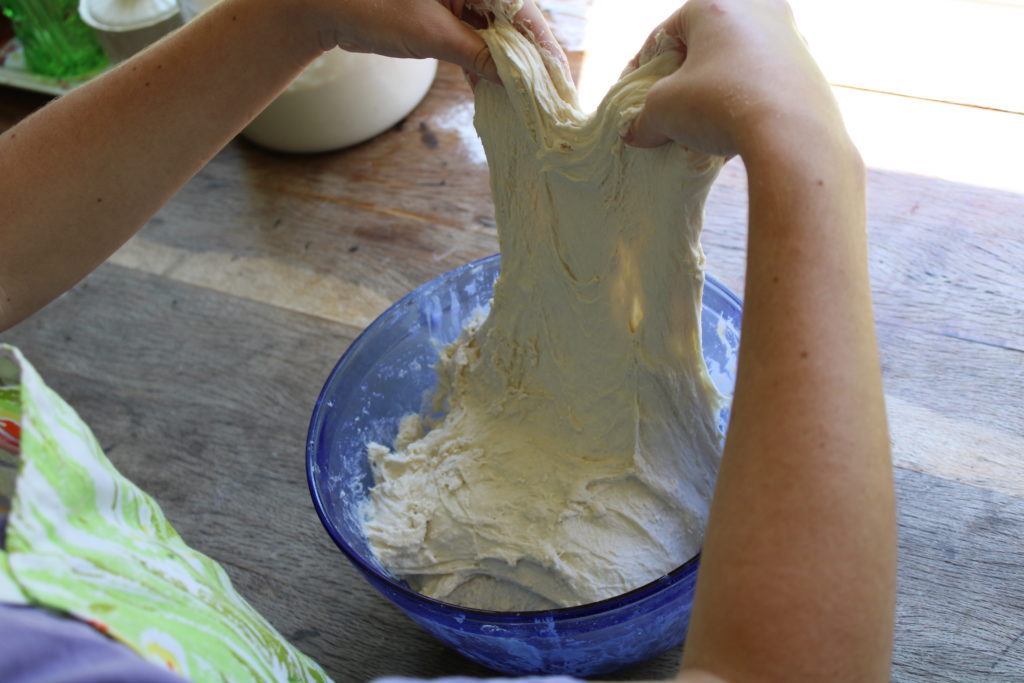
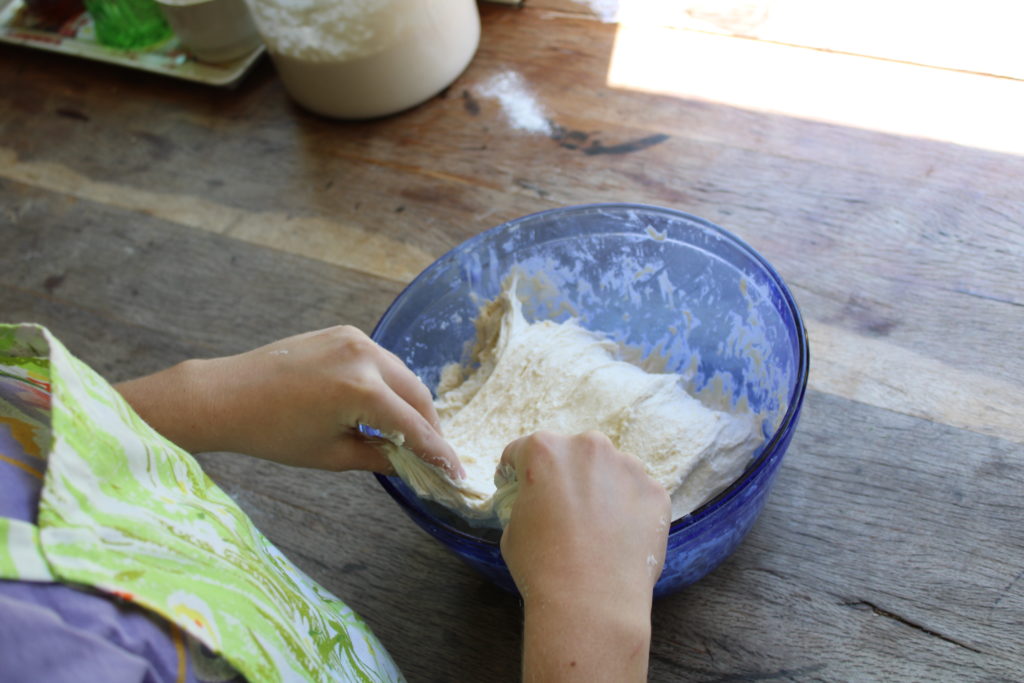
After the 30 minutes, we will start the stretch and fold process. Grab an edge of the dough and stretch it up towards you then fold it back down over the center. Pretend your dough ball is a square and turn the bowl as you stretch and fold each side of the dough, four times total. This is how you get those amazing big bubbles in your bread. Cover again and let rest for 30 minutes. Repeat these steps two more times. So you should have a total of 3 stretch and folds, with 30 minutes in between each.
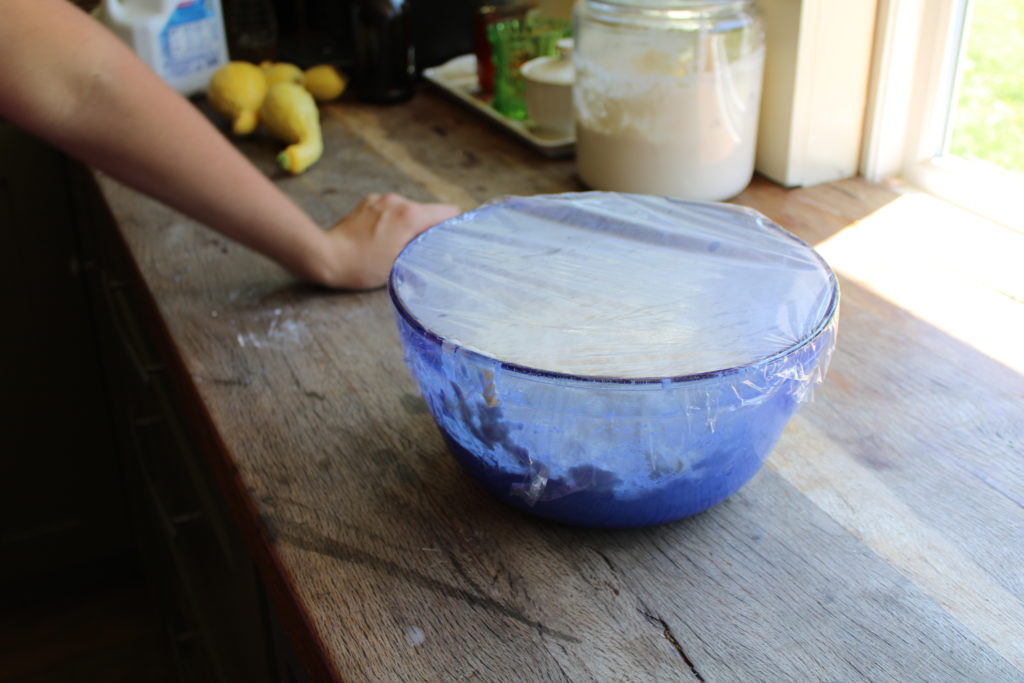
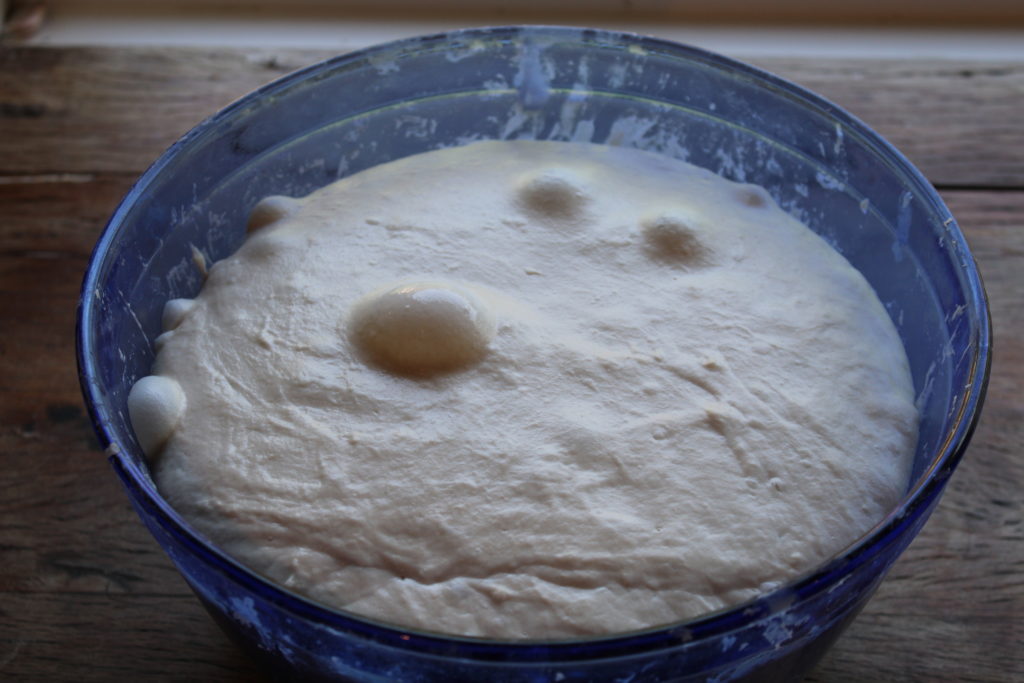
After your last stretch and fold, cover the dough and let it sit for 6-12 hours to ferment, or until it has doubled in size. You don’t want to over-ferment the dough or you’ll get a wet, slimy mess that you won’t be able to work with!
Shape the Dough
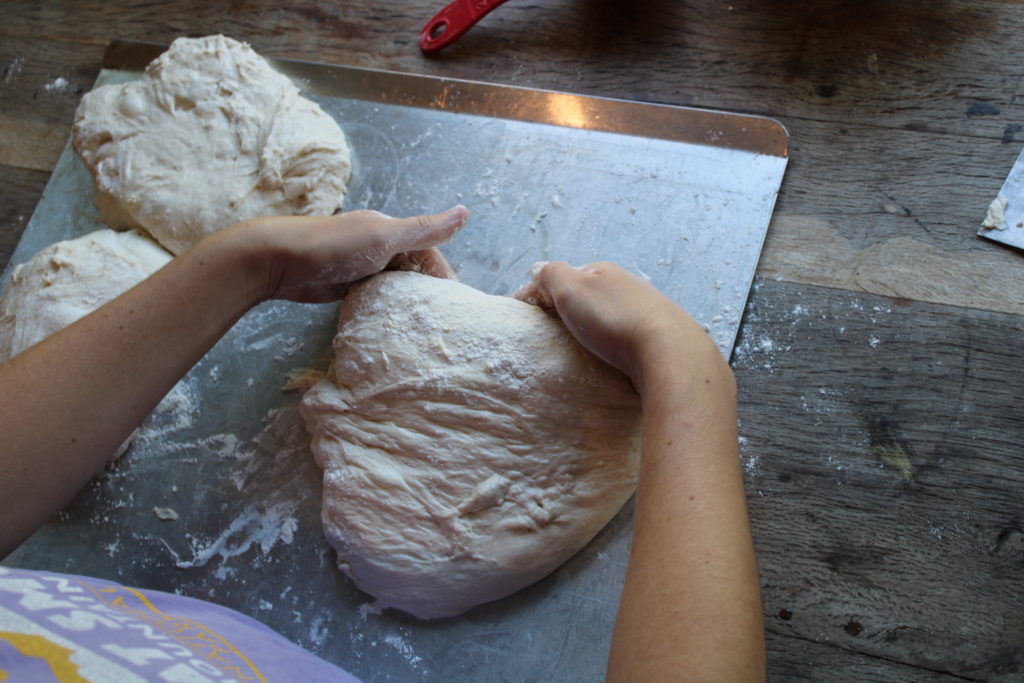
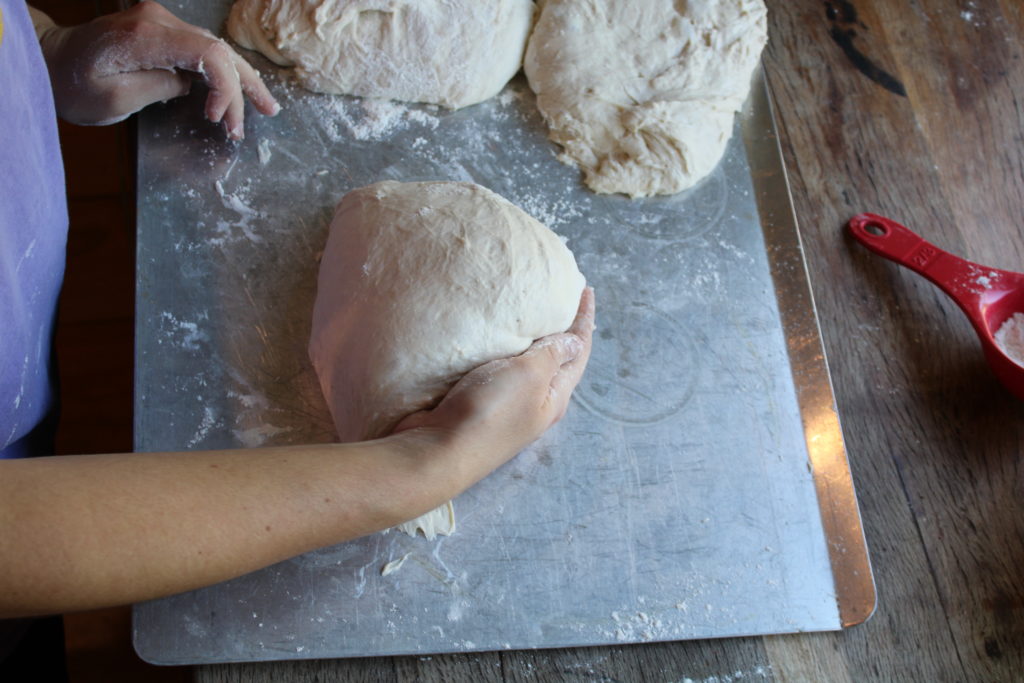
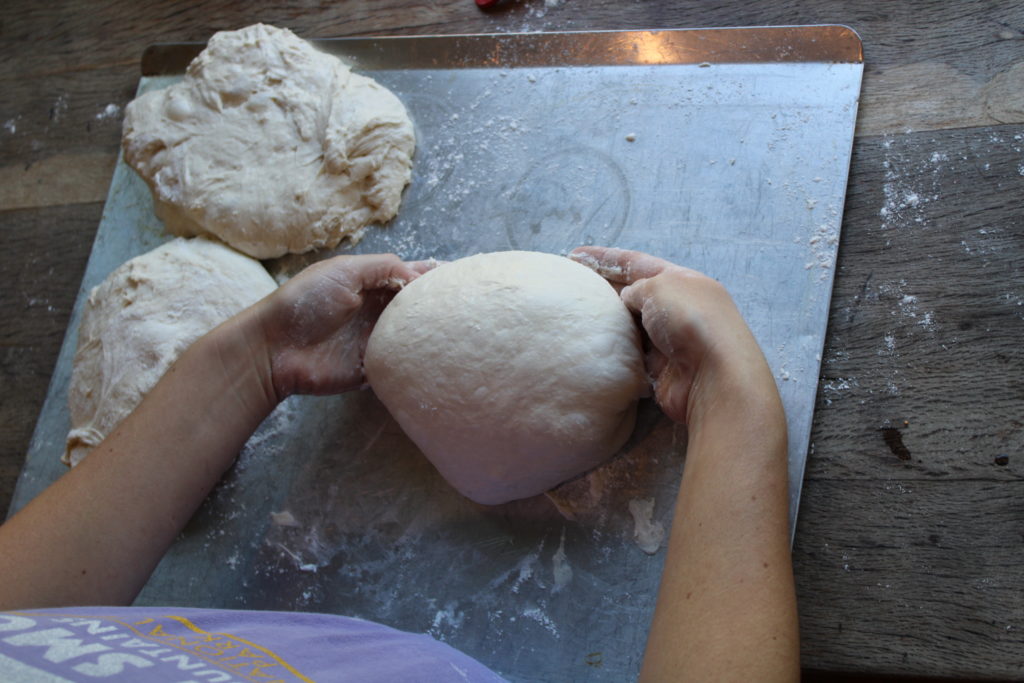
Dump the dough out onto a lightly floured surface and gently use your hands to push and pull the dough to create a tensioned, round loaf. Here, I made a double batch and was making small loaves. But the process is obviously the same for a single loaf.
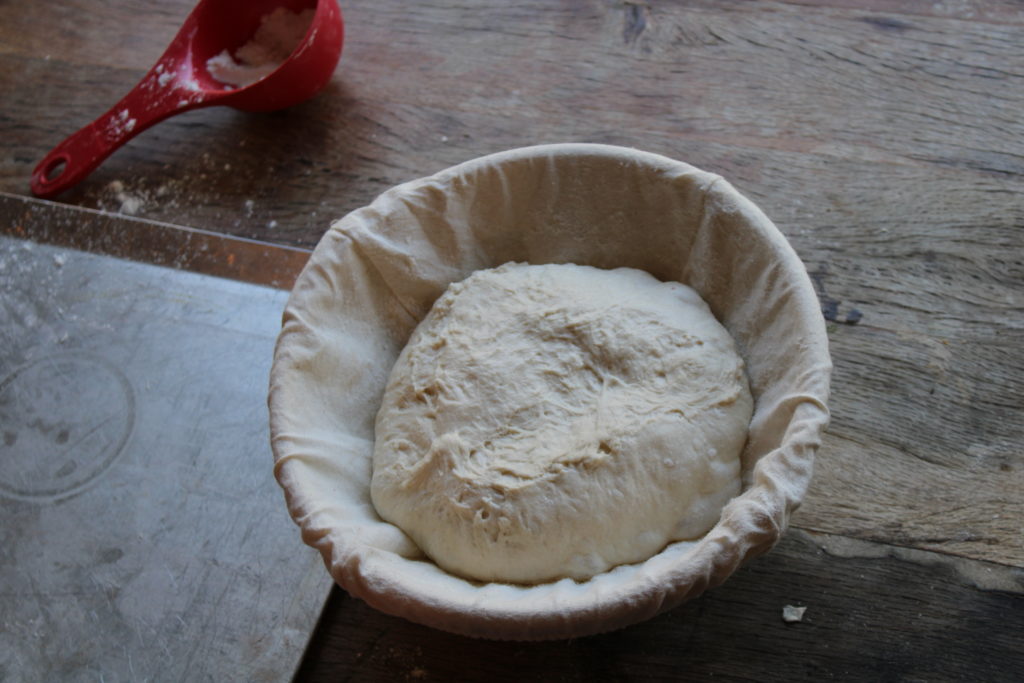
Place your dough seam-side-up into a floured banneton basket. If you don’t have a banneton basket, you can use any kind of bowl lined with a floured tea cloth. Place inside a plastic grocery bag and refrigerate for 15 hours. This part is so important. Not only do you get a long fermentation for health purposes, but the shape of the loaf in general comes out better. It is able to hold and keep its shape during the baking process. And, its easier to score the dough after it has been in the fridge that long. You can even leave the dough in the fridge for several hours longer if you don’t have time to bake it at the 15 hr mark. That is what I love about this recipe. No pressing time frame!
The Next Day
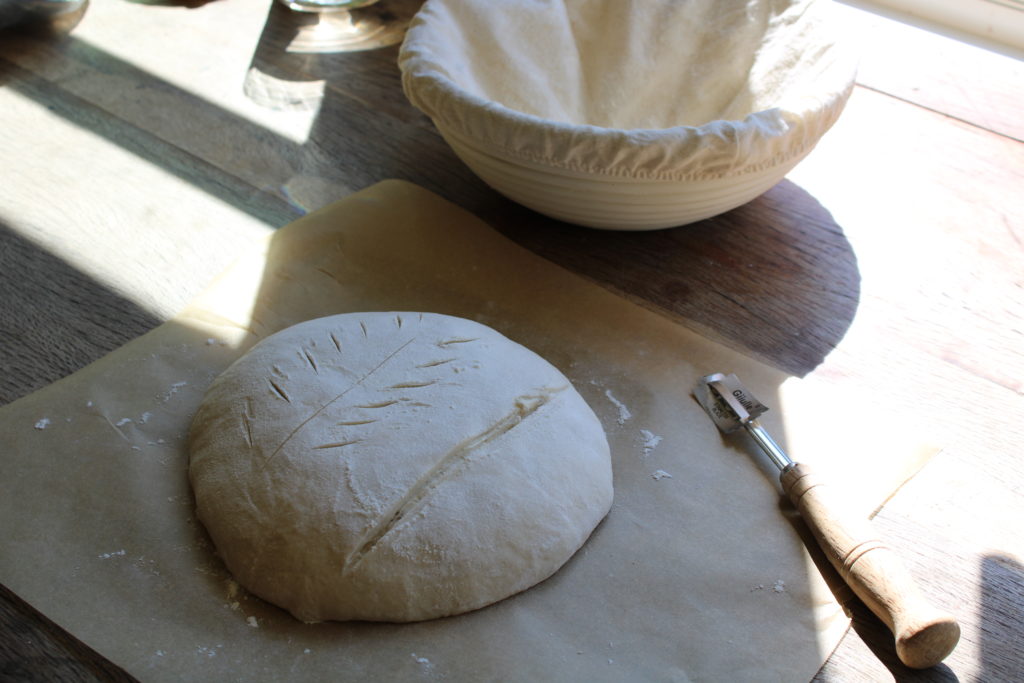
Place a Dutch oven inside your oven and preheat to 500 F for at least 45 minutes. Then take the dough out of the fridge and dump it onto a piece of parchment paper. Sprinkle with flour and score the dough with a razor blade. You don’t have to do a fancy design, but you will need one large slice anywhere on the loaf so that it’ll expand without looking like it exploded.
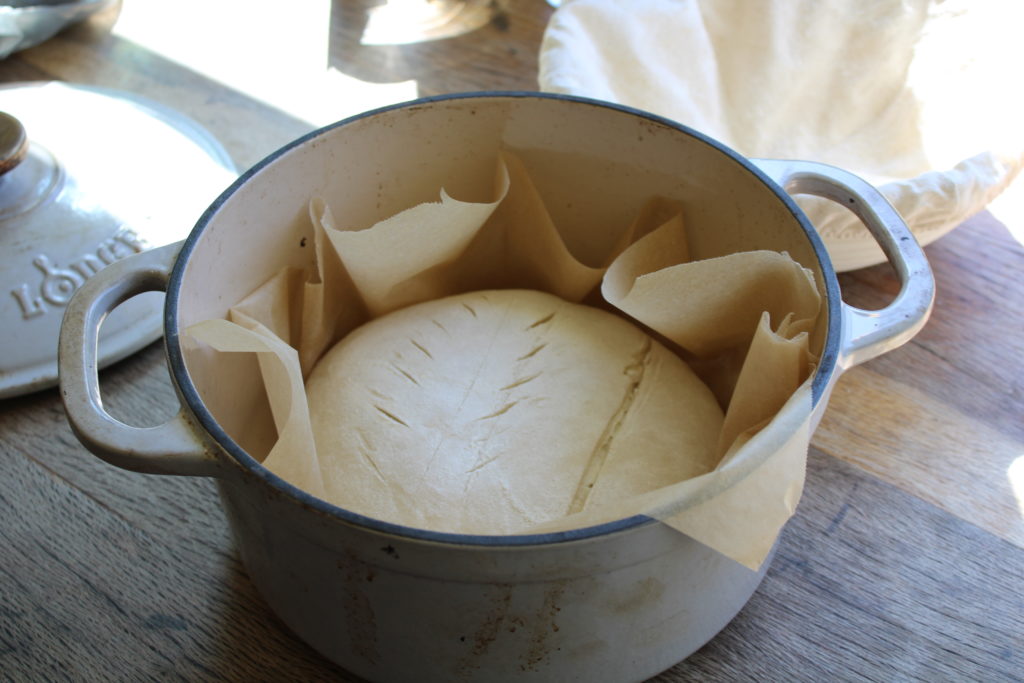
Take the Dutch oven out of the oven and place the parchment paper with the dough into it. Put the lid on and place it back in the hot oven. Bake for 20 minutes. Take the lid off of the Dutch oven and turn the oven down to 475 F and bake for an additional 15 minutes, or until you get that perfect brown crust.
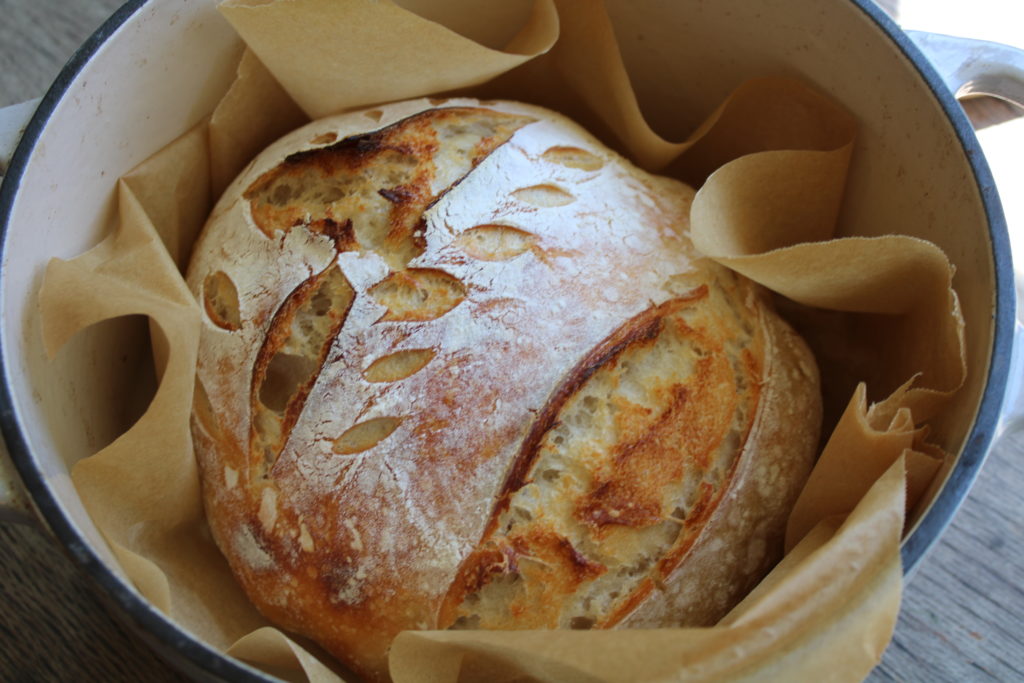
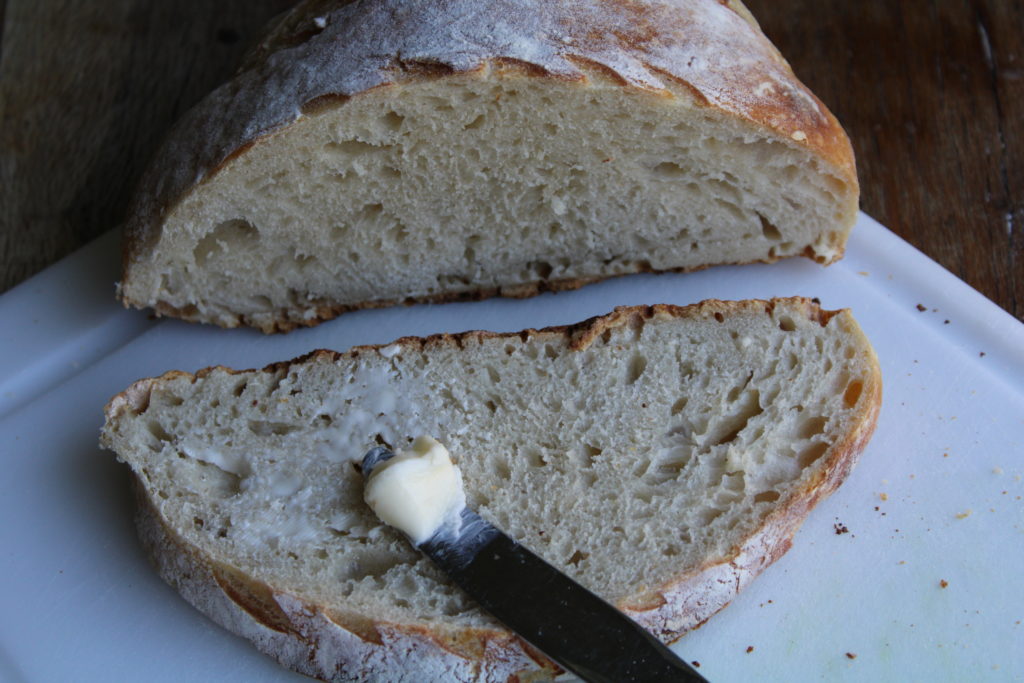
My favorite thing about this recipe is that you can really go about your day without worrying too much about the dough! You’ll have this down pat in no time. If you enjoyed this recipe, I’d be thrilled if you left a review!
Easiest Sourdough Bread

- 475 g all purpose flour
- 325 g warm water
- 15 g salt
- 150 g active sourdough starter
Feed your sourdough starter 4-12 hours beforehand. You'll know its ready to use when it passes the float test!
In a large glass bowl, combine warm water and starter. Mix with your hand till the starter is dissolved.
Add in salt and flour. Use your hands to mix everything together. We aren't kneading here, just making sure all these ingredients are incorporated well. This will take just a minute to do. You will get a shaggy, sticky dough. You might be tempted to add in flour, but don't!
Cover the bowl with plastic wrap and let it sit for 30 minutes.
Time to start stretching and folding! Grab an edge of the dough and pull it up towards you. You may have to jiggle it as you pull in order to get it to stretch more. Now fold the dough you just stretched back on top of the dough ball. Repeat this 3 more times, all the way around the ball of dough. Cover it back up and let it sit for 30 minutes.
Repeat step 5 two more times. At the end of your last stretch and fold, cover the dough let it sit for 6-12 hours, or until it has doubled in size. In the summer, I typically put it on the front porch, and after 6-7 hours it has fermented enough. You don't want to over ferment it, because it will become a slimy wet mess that you won't be able to work with!
Shape your dough. Scrape the dough out onto a lightly floured surface. Gently shape it into a tensioned ball by pulling it towards you, then pushing it away. Repeat a few more times until you get a nice, round loaf. The pictures above will really help with showing what I mean.
Proofing your dough. Use a bench scraper to transfer your dough (seam side up) to a floured banneton basket. If you don't have a banneton basket, you can use any kind of bowl lined with a thin tea towel. Sprinkle some flour on the tea towel before you place your dough in there.
Put the dough inside of a plastic grocery bag and tie it shut, then place in the fridge for 12-15 hrs. You can even leave it in there for longer if you don't have time to bake it at the 15 hr mark.
Put a dutch oven into the oven and preheat to 500 F for at least 45 minutes.
Take the dough out of the fridge and place onto a piece of parchment paper. Lightly dust the surface of the dough with flour and score with a razor blade.
Take the dutch oven out of the preheated oven and place your dough on the parchment paper inside and cover with the lid. Place it back into the hot oven and bake for 20 minutes.
Remove the lid and turn the oven down to 475 F and bake for an additional 12-15 minutes, until you get that perfect brown crust.
While I will say that this is one of the easiest, hands-off sourdough recipes, the key to mastering this is using your starter when it is at its most active, bubbly stage. Until you become “familiar” with your starter and can tell by looking, do a float test before making bread!
To do a float test; drop a spoonful of starter into a cup of water and if it floats, you are set to go! If it sinks, then you need to wait longer. Or maybe you missed it. How fast your starter reaches its active stage after a feeding depends on how warm or cold your house is.
This site contains Amazon affiliate links to products. We may receive a commission for purchases made through these links at no additional cost to you.

Leave a Reply