Learn how to can whole tomatoes using the water-bath method.
This is my favorite way of putting up tomatoes. It’s fast, easy, and you can use them in SO many different recipes. This method of canning whole tomatoes is great for beginners or experienced alike!
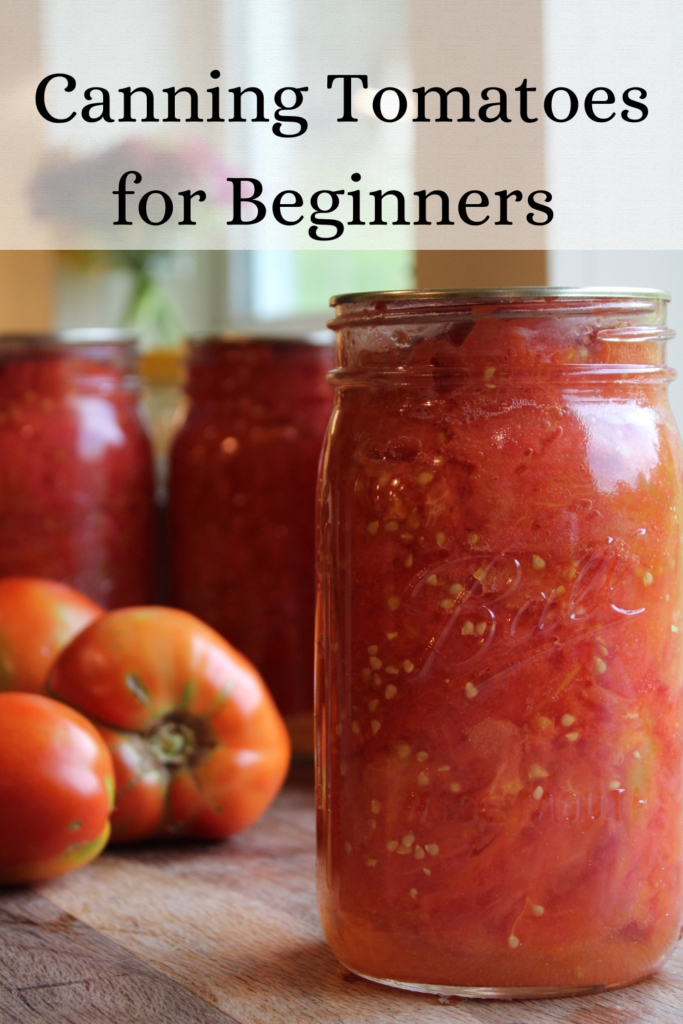
Just plain ‘ole canned tomatoes are a staple in our pantry, and I usually do 150-200 quarts of them each summer. After the process of packing them into jars, they do turn out more like crushed tomatoes.
This site contains Amazon affiliate links to products. We may receive a commission for purchases made through these links at no additional costs to you.
What will I need to can whole tomatoes?
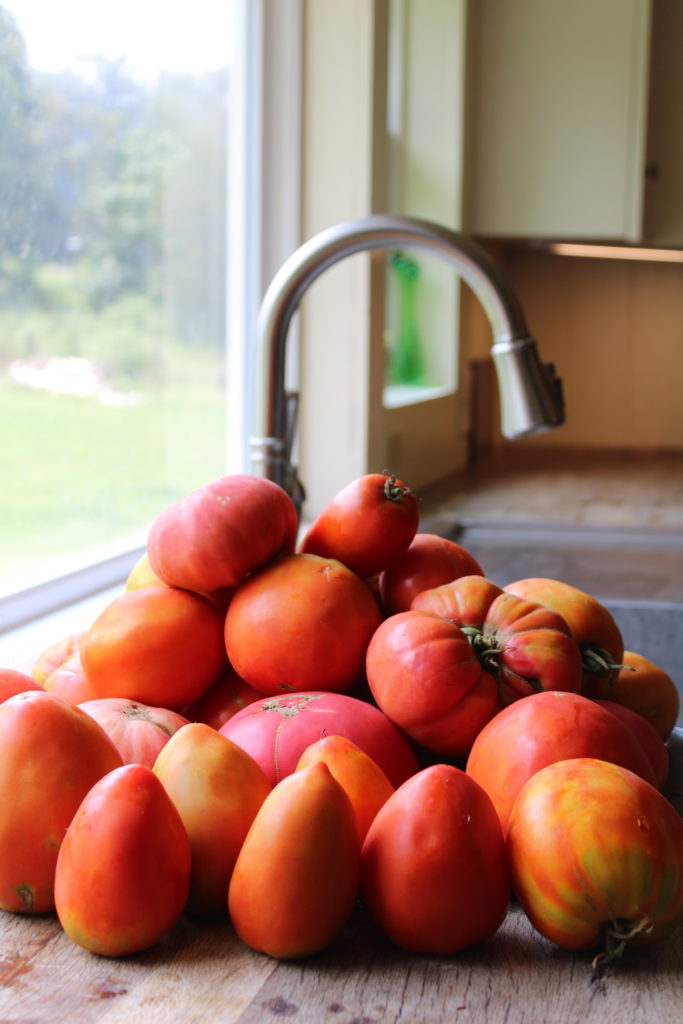
Before I go into the list, I do want to say that you don’t want to use tomatoes that are over-ripe, or have bruises/bad spots. You can cut things out, but sometimes it’s just not worth it. One bad tomato could spoil a jar and you don’t want all your hard work to go to waste!
- A couple of large pots. You will need a bigger-than-normal pot to water bath the jars of tomatoes in, like THIS ONE. You’ll also need a couple of large bowls.
- Quart or pint mason jars with lids. I prefer quarts!
- A small pairing knife
- Citric Acid
- Canning Salt
- Rubber spatula
- A pair of canning jar tongs
Prepare the jars and tomatoes
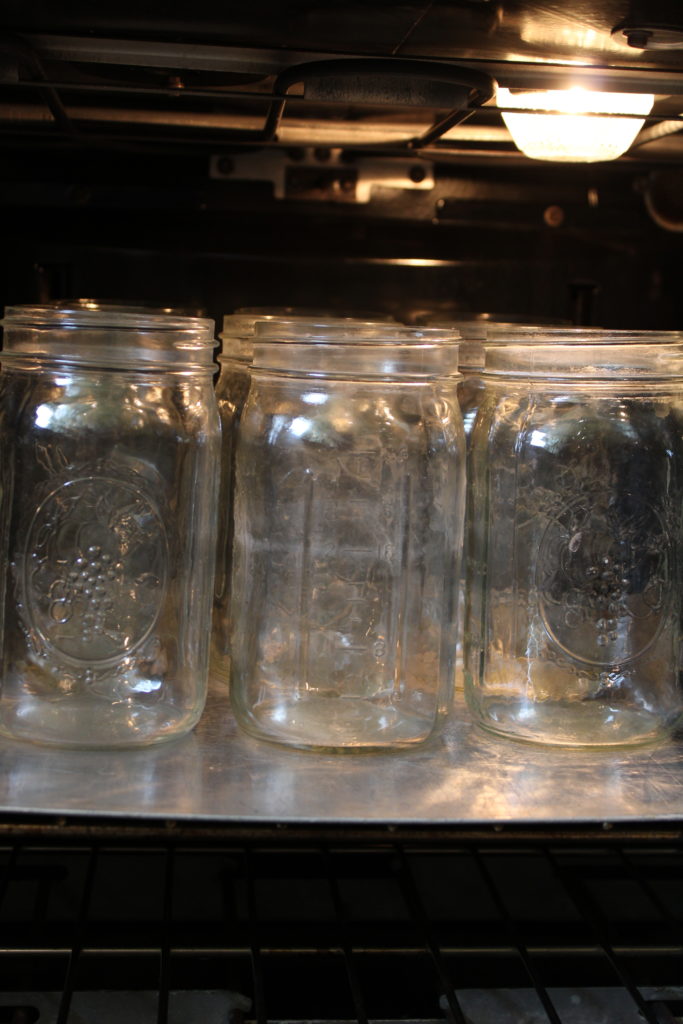
You’re going to start by washing your jars and then placing them on a cookie sheet in the oven. Crank the oven up to 260 F, and the jars should be in there for at least 20 minutes before you use them. Some people like to sterilize their jars by boiling them in water or running them through the dishwasher. The oven method works best for me so that’s what we’ll stick with here.
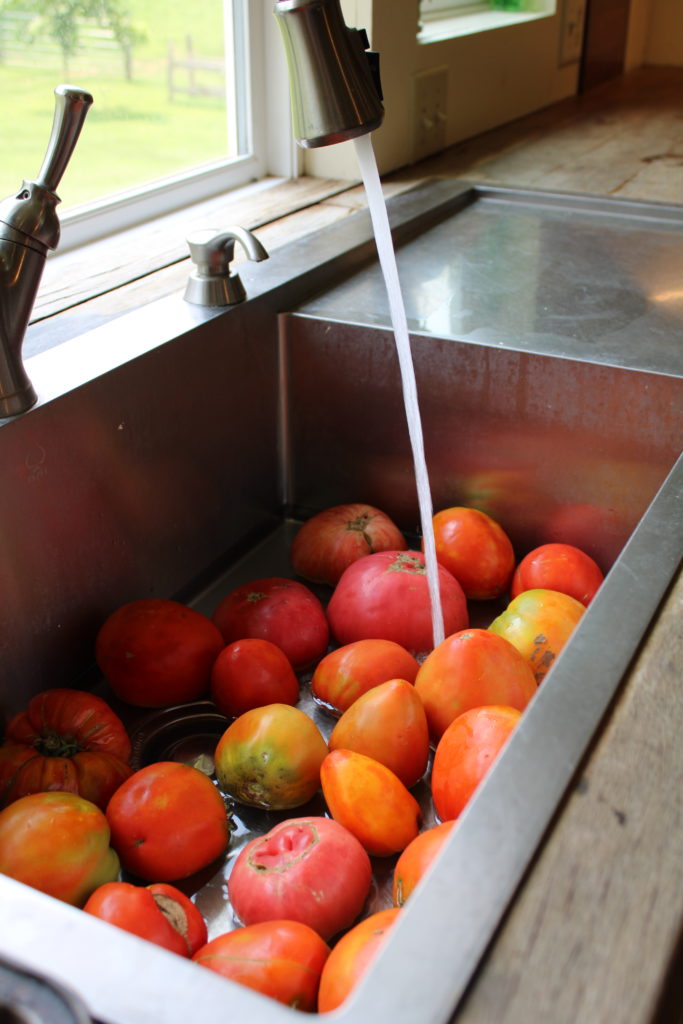
After that, dump the tomatoes in the sink and we’ll start the wash, core, and score process.
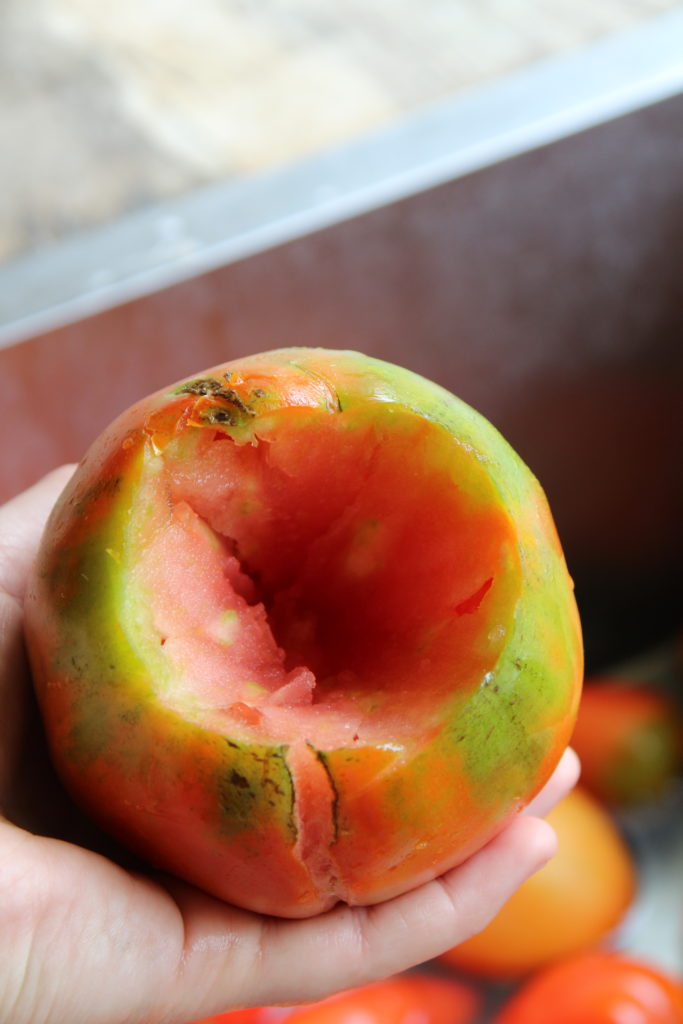
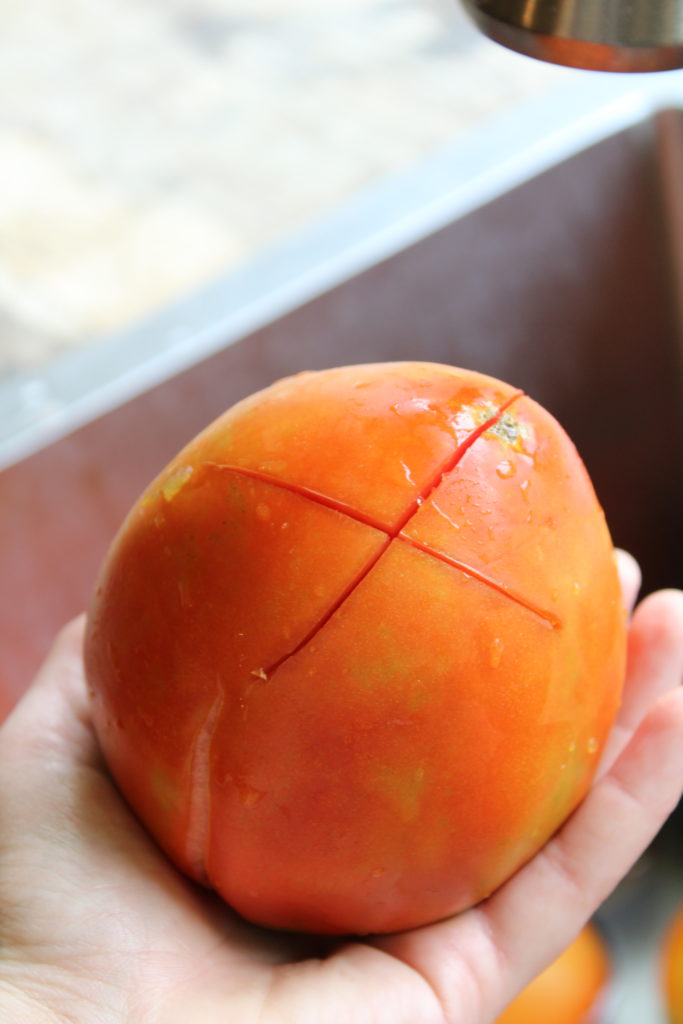
Depending on how dirty or clean the tomatoes are, you may just have to rub them with your hands under running water. I then cut the core out, and then score by slicing an X across the bottom of it. Do this to all of your tomatoes and place them on the drain board or counter.
SIDE NOTE: If you use or grow heirloom tomatoes (like I do) it is common to get what you call “catfacing” on the tomatoes. These are the brownish scars and scabs that are towards the blossom end of the tomato. Don’t worry about taking the time to cut those out, because we will be peeling the skin off anyways!

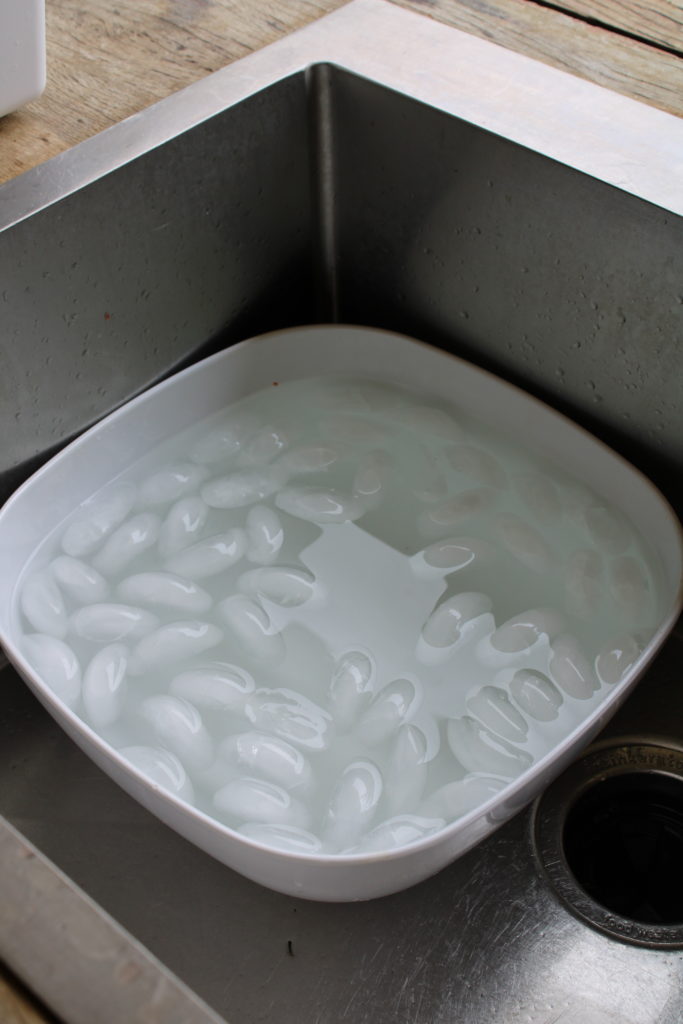
Put a large pot filled 3/4 of the way with water on the stove to boil. While you are waiting, fill a large bowl with cold water and ice and place it in the bottom of the sink.
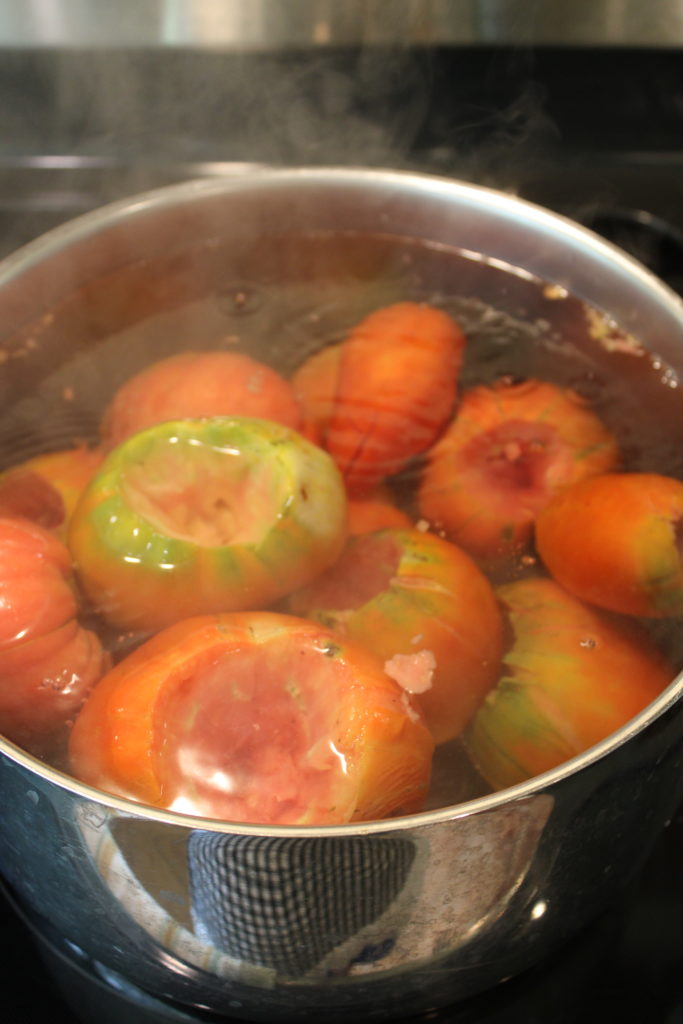
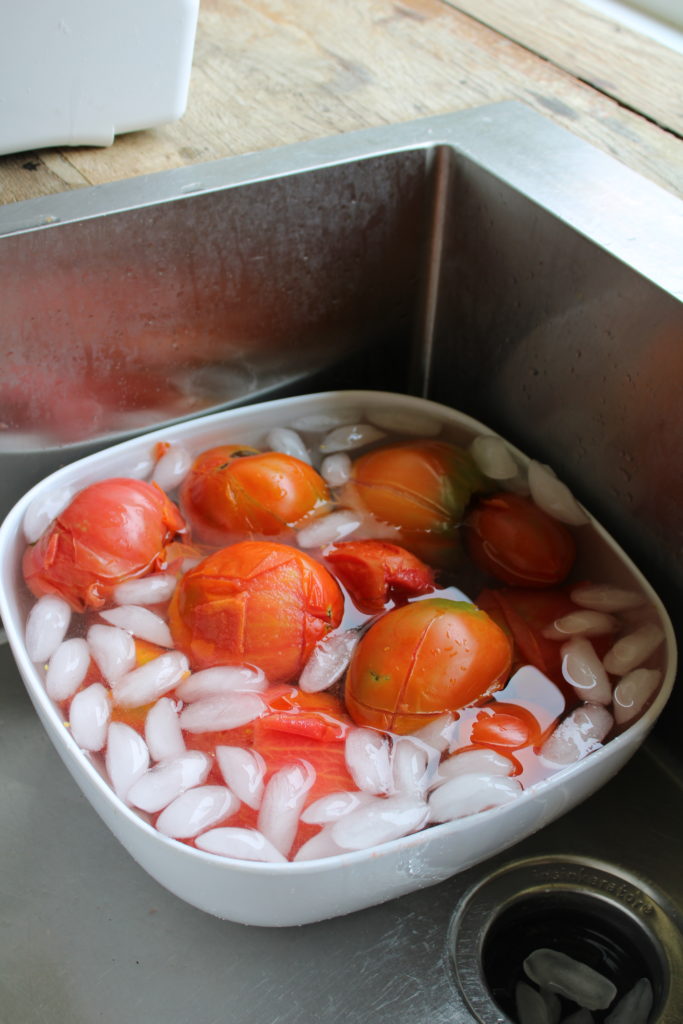
Once your pot of water comes to a boil, quickly place as many tomatoes as you can into the pot. How many you get in there depends on how big your pot is. You want the tomatoes to be submerged, so make sure none are sticking above the water. Set your timer for 1 minute! Then, using a big spoon or ladle, scoop the tomatoes out and into a large bowl (you use a lot of bowls and pots in this recipe!) and quickly dump them into that bowl of ice-cold water in the sink.
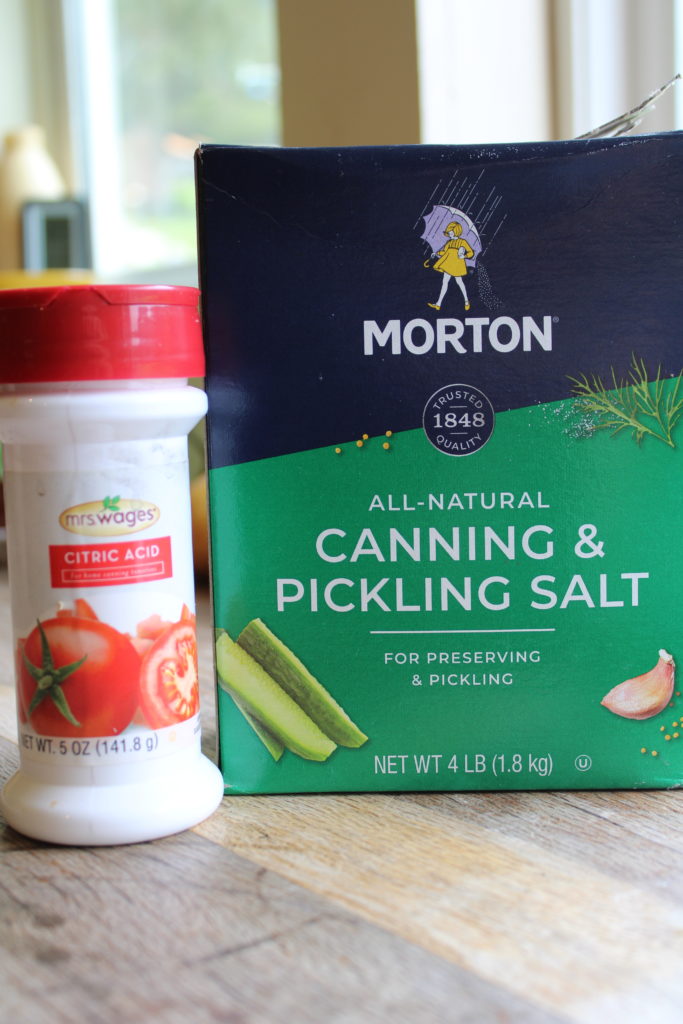
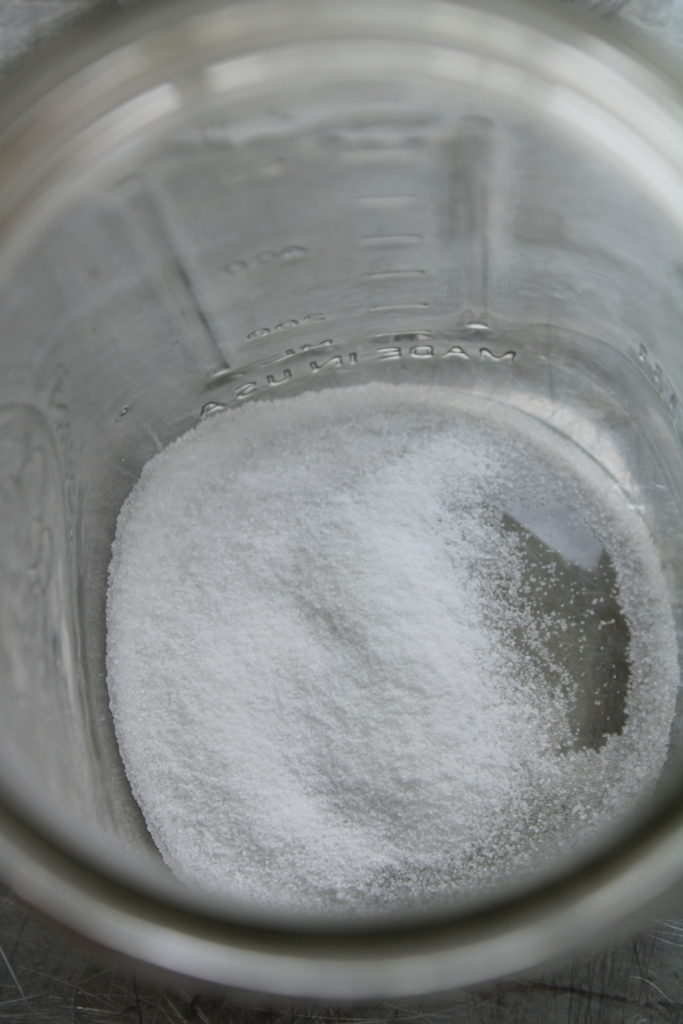
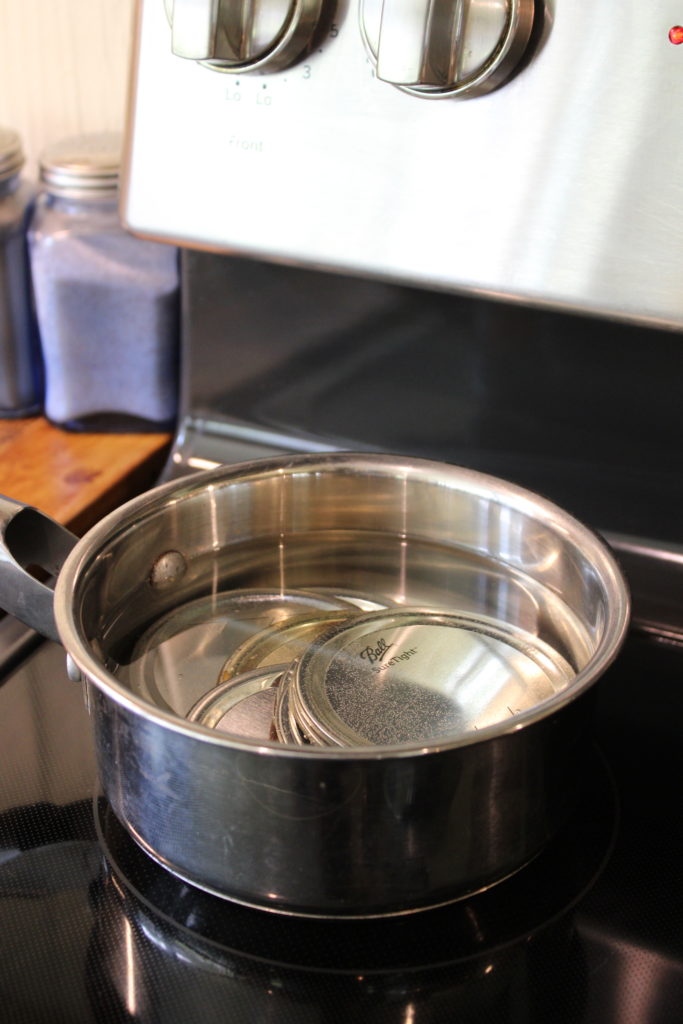
While the tomatoes are being chilled, go ahead and pull the jars out of the oven. Add 1 teaspoon of canning salt and 1/2 teaspoon of citric acid to each jar. Put all the lids in a small pot of water and bring to a low boil for several minutes. Not the screw-on bands, just the lids.
Pack whole tomatoes in the jars
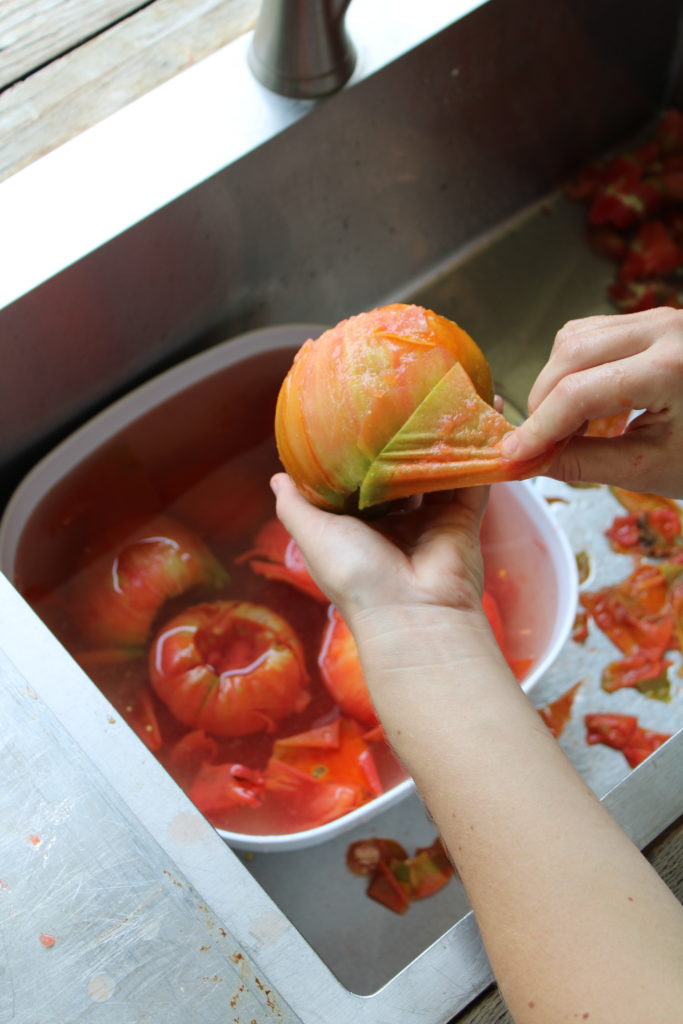
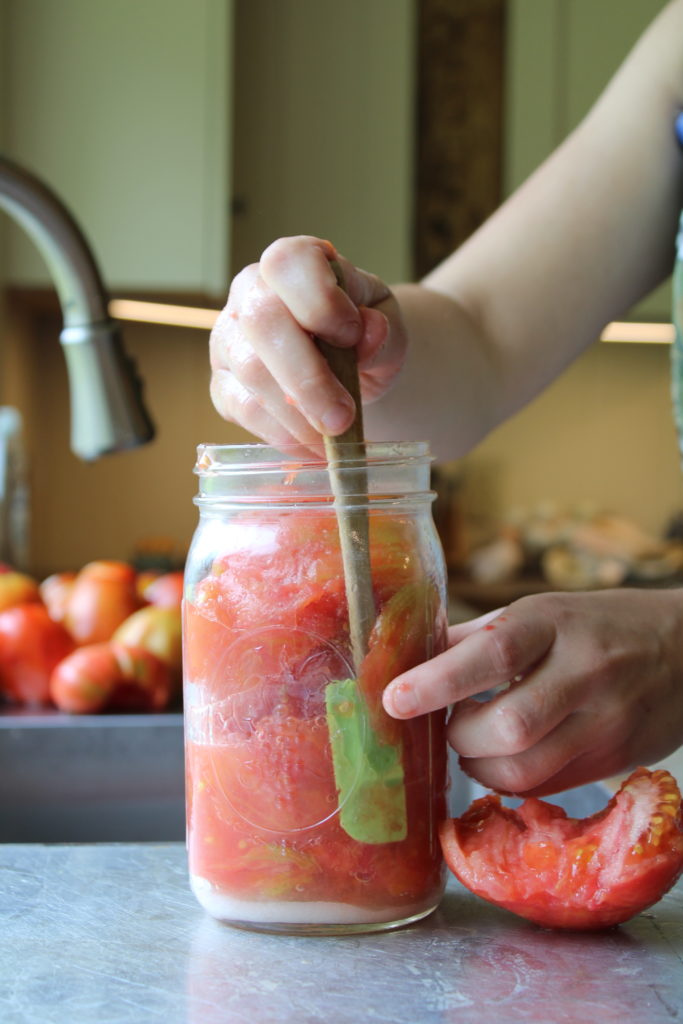
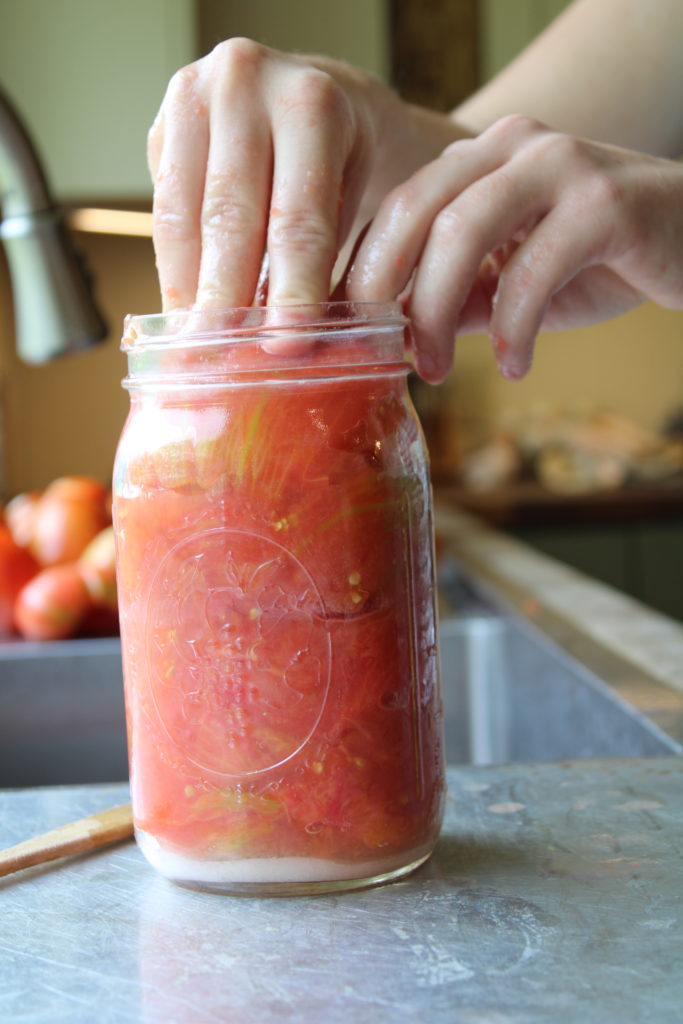
The skins of the tomatoes should come off quite easily now. If they are hard to pull off, that means they could have used some more time in the boiling water (in that case, just throw them back in!) if they are too mushy, just cut down on the boil time next time around! Start packing them tightly into the jars. You want to get rid of all the air bubbles, so I use a spatula to help crush them down. Leave about a 1/2 inch of headspace.
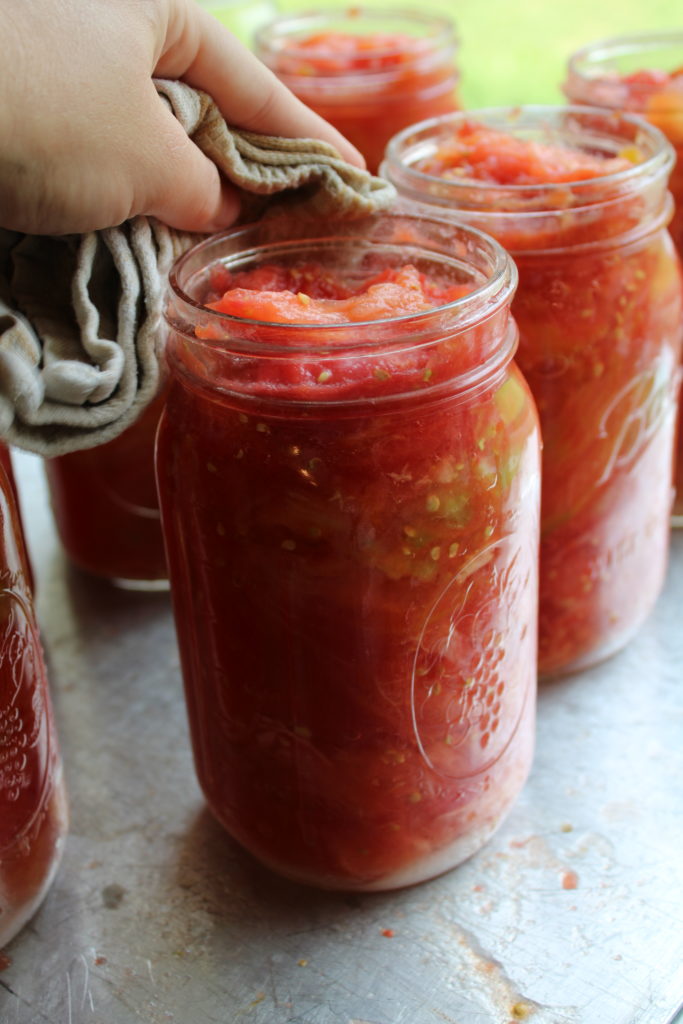
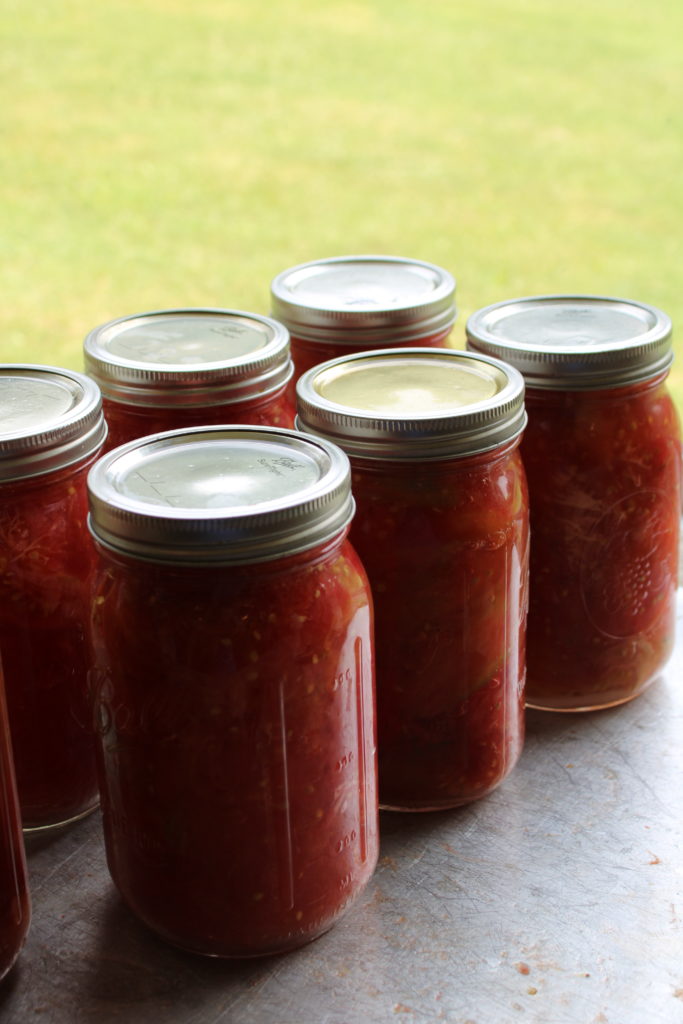
Wet a tea towel or paper towel with vinegar and clean the tops of the jars well. You don’t want tomato stuck between the jar and the seal. Take your lids out of the boiling water and place them on the jars and screw the metal bands on. Don’t crank down on the lids and make them too tight.
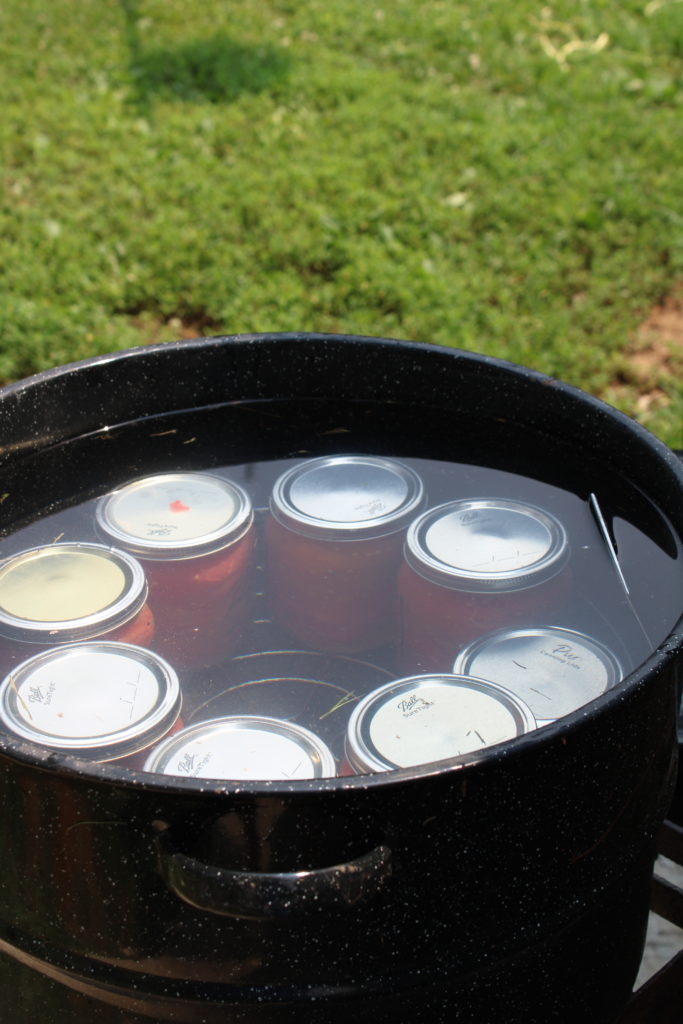
This is where you will need your biggest pot. Fill it up 3/4 of the way with water and put it on your stove-or in my case, a propane burner out on the patio. Place your jars of tomatoes in the pot and make sure they are under the water by a few inches. Turn the burner on high and bring to a boil. As soon as the water starts boiling, start the timer for *45 minutes. For pints, it’s 35 minutes. Turn your burner down a bit and keep a nice steady boil for that whole amount of time.
*The amount of time you need to process these tomatoes will depend on your altitude! 45 minutes is for up to 1000 feet above sea level. For over 1000 feet, look up what your time would be and adjust accordingly.
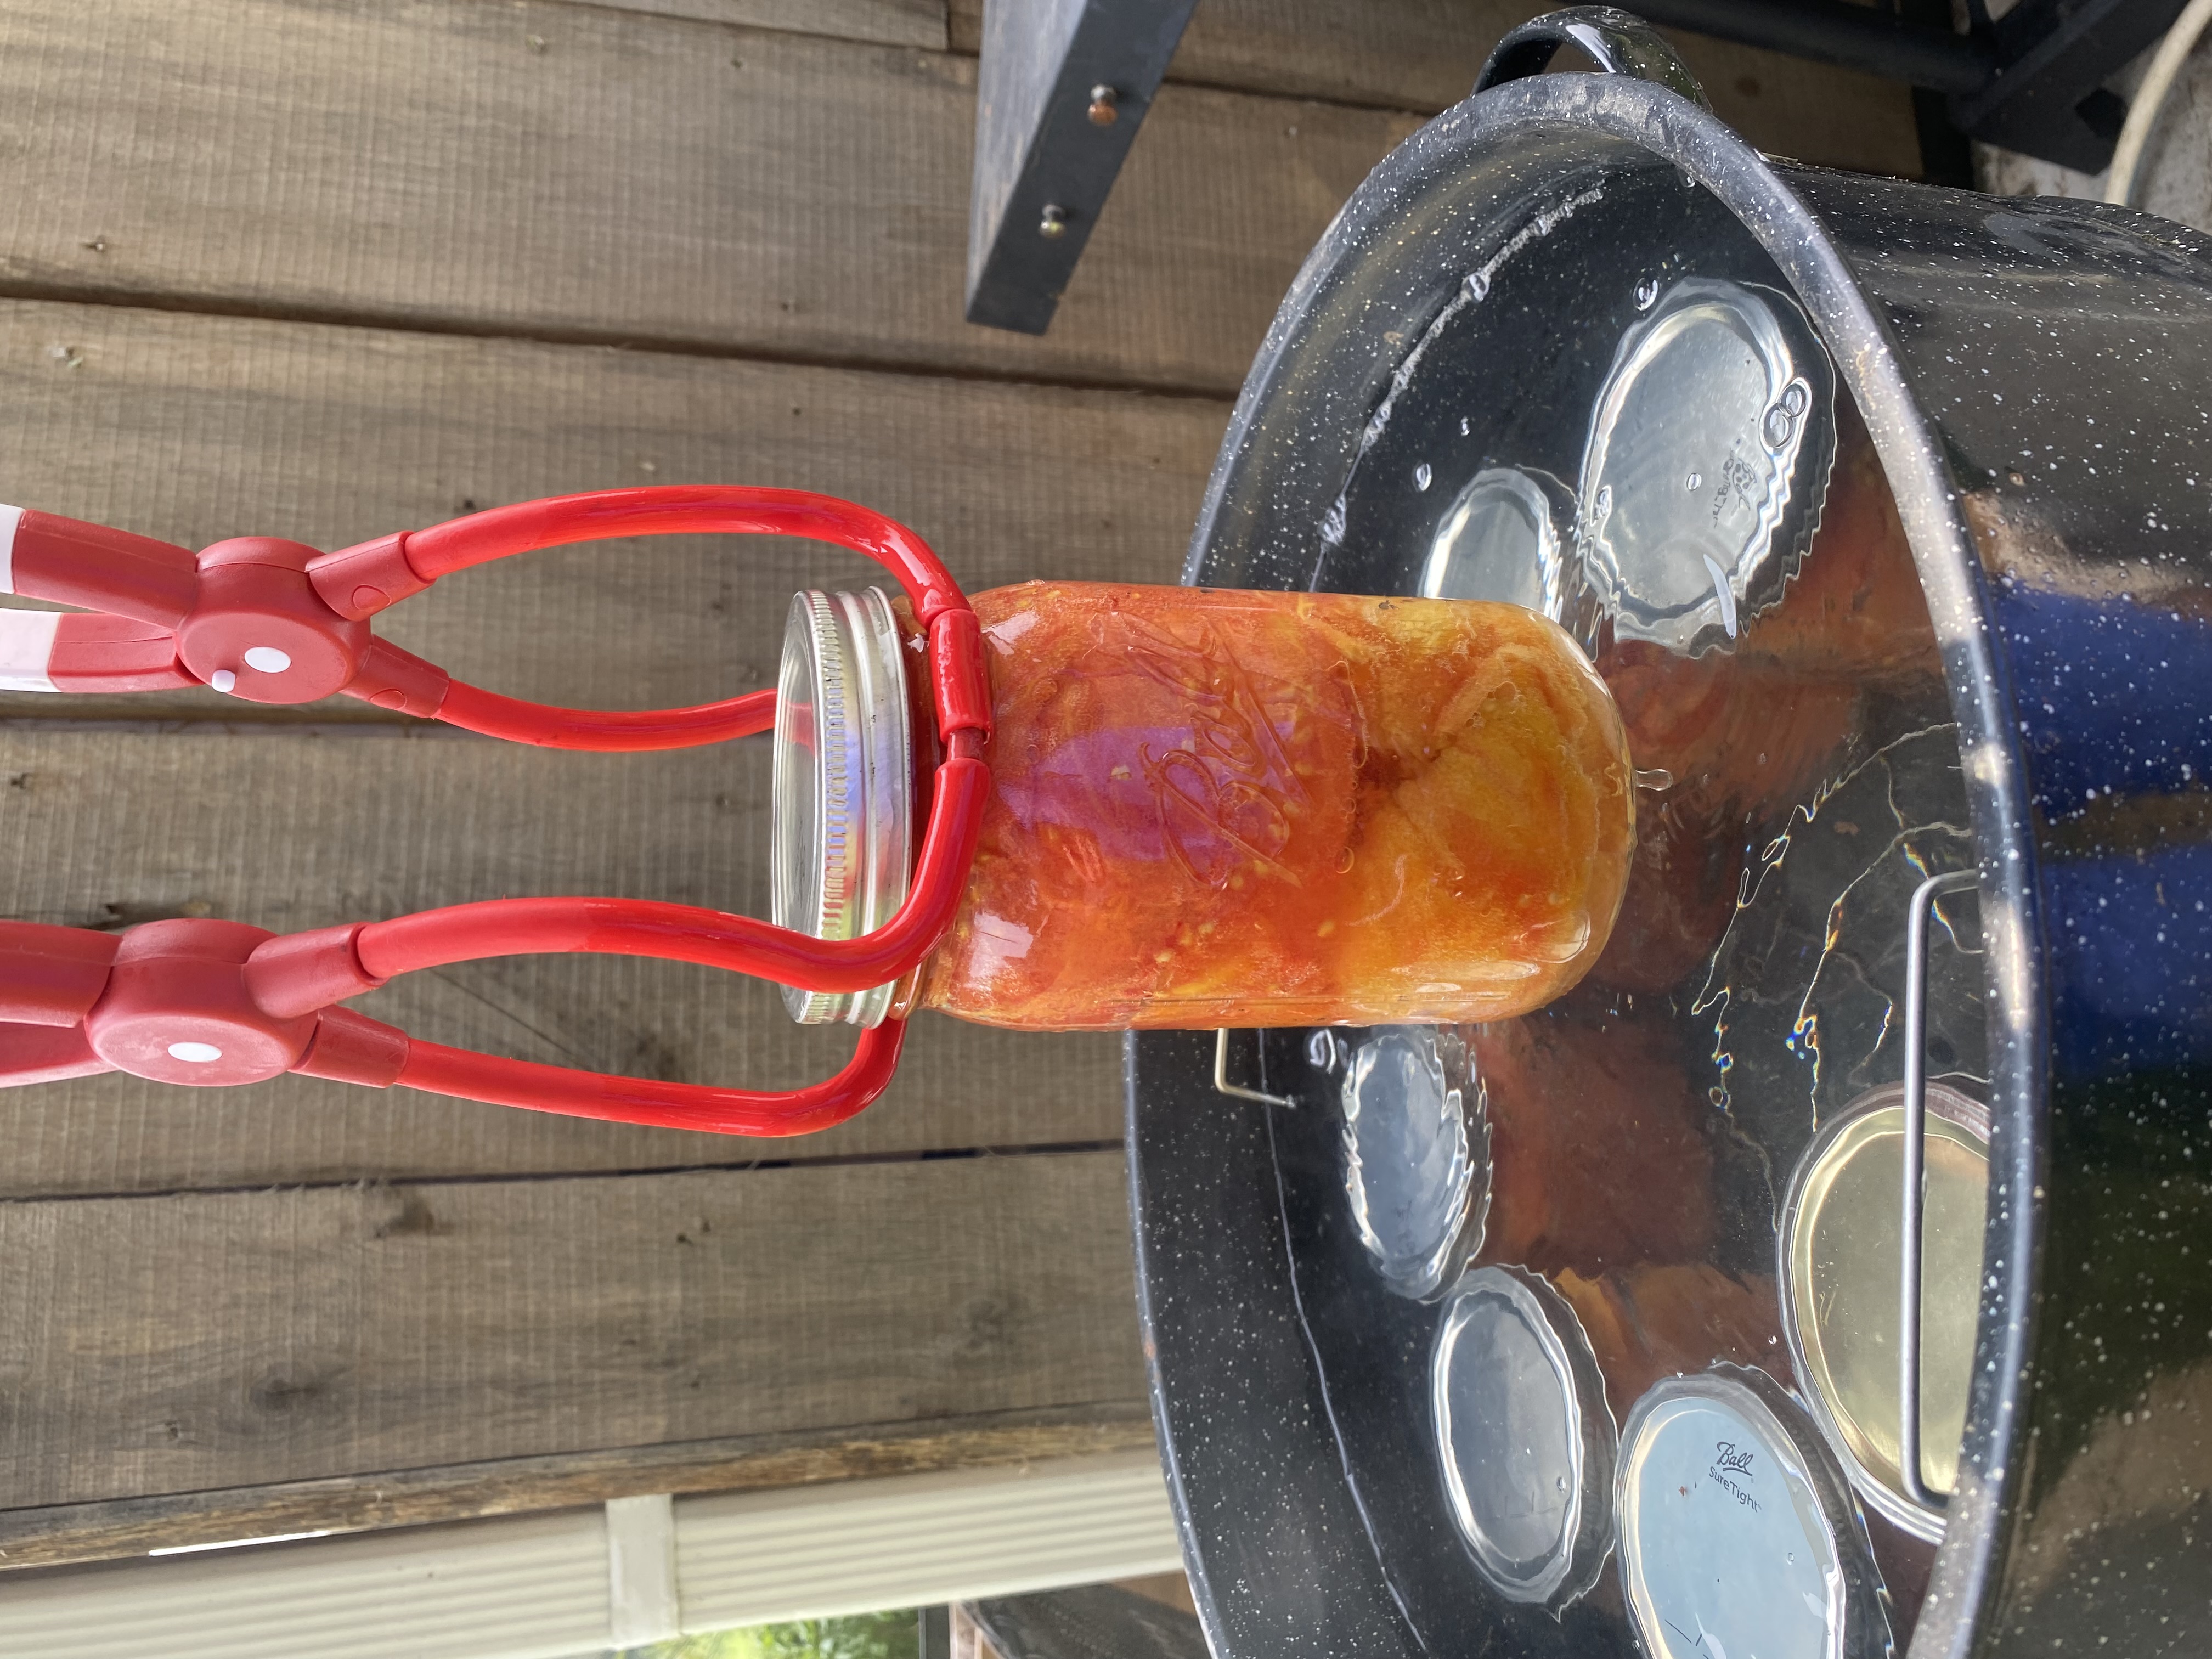
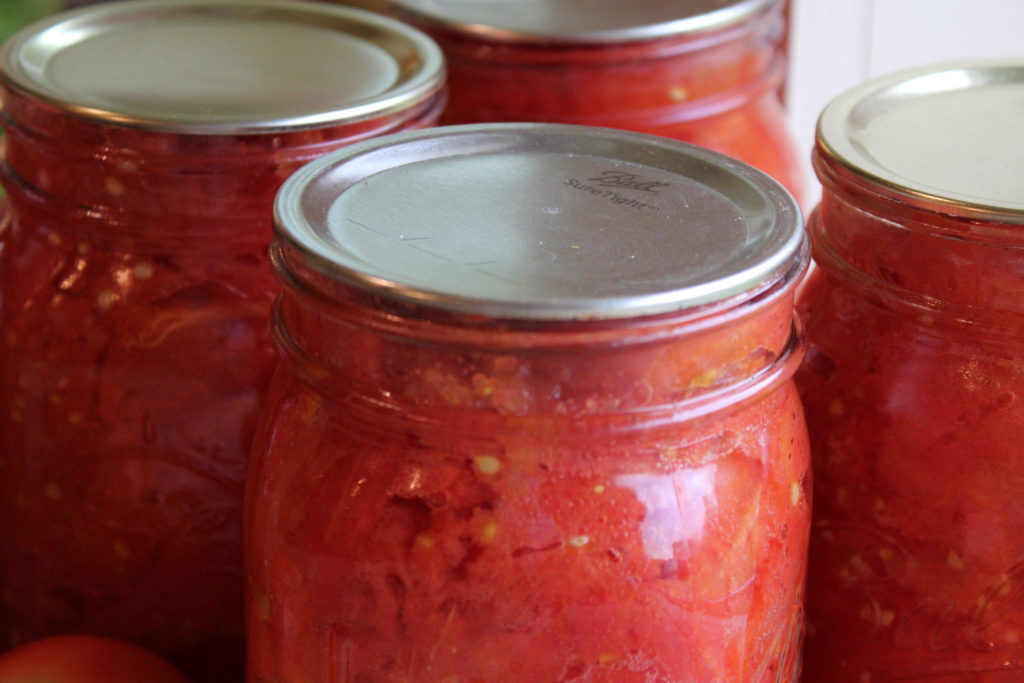
After the processing time is up, pull the jars out with a pair of jar tongs and they should seal within half an hour! You’ll also hear little popping sounds as they seal. Let them sit undisturbed for the first 12 hours. You’ll know they’ve sealed when they are perfectly flat and pulled in on top. I like to unscrew the rings the next day. Canned tomatoes that are stored properly can last up to a couple years, but mine are usually gone before then as we use them all winter. They are such a great staple to have in the pantry- I use them in everything!
Tips for canning whole tomatoes:
– You will need a wire rack of some kind in the bottom of the pot that you water bath the jars of tomatoes in. It’s not good for the jars to be sitting right on the bottom of the pot. – Some people will use vinegar or lemon juice instead of citric acid to add that necessary acidity to their tomatoes. Citric acid is the one that won’t alter the flavor of the tomatoes in any way, so that’s why I stick with it. – Store your canned tomatoes in a dark place away from direct sunlight.

Leave a Reply